Breakfast
How To Cook White Tapioca Pearls (Step by Step)
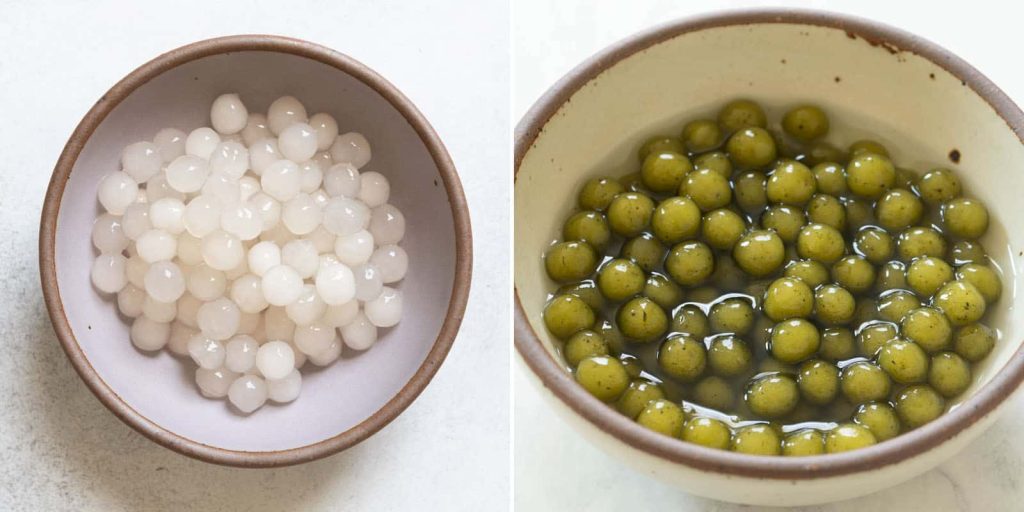
Welcome to our comprehensive guide on preparing flawless white tapioca pearls. Often referred to as boba or bubble tea pearls, these chewy, gelatinous balls can be used to infuse exotic textures and flavors into drinks, desserts, and snacks.
When cooked properly, tapioca pearls should have a soft, bouncy interior encased in a translucent exterior. Their ability to absorb surrounding flavors while maintaining a distinct tapioca taste is what makes them an endlessly versatile ingredient. However, achieving the perfect tender-but-chewy pearl requires precision.
In this guide, we will walk you through the entire process of cooking picture-perfect white tapioca pearls, from ingredients to technique. Follow our tips and tricks for guaranteed tapioca success every time.
Table content
Selecting the Best Ingredients
The first step in crafting flawless tapioca pearls is choosing quality ingredients. Here are the key factors to look for:
- Pearl Grade – Opt for premium-grade white tapioca pearls specifically produced for cooking. Cheaper pearls can become gummy and mushy when prepared. Good pearls will be very white in color and evenly sized.
- Pearl Size – While sizes range from 3mm to 8mm, 3-6mm pearls are best for versatility. The smaller ones work well in bubble teas, while larger pearls are ideal for puddings, soups, and other applications.
- Freshness – Inspect pearls to ensure they look dry and fresh, not discolored or stale. Store in an airtight container in a cool, dry place for up to 1 year.
- Water – For the cooking liquid, filtered or bottled water is recommended. The chlorine in tap water can impart off-flavors. Do not use distilled water, as it prevents pearls from reaching the proper elastic texture.
- Flavorings – For enhanced taste, add a small amount of sugar, honey, syrup, or extracts like vanilla or almond to the cooking liquid. Limit to 1-2 teaspoons to avoid overpowering the delicate tapioca flavor.
Step-by-Step Cooking Guide
Meticulously follow these steps for perfectly cooked tapioca pearls every time:
Cleaning
- Place dry tapioca pearls in a fine mesh strainer and rinse thoroughly under cool running water. This removes any dust or excess starch.
- Shake strainer or pat with paper towels to drain off all moisture. Pearls should be completely dry before cooking.
Cooking
- In a large pot, bring 4 cups of filtered water to a rapid rolling boil over high heat. Water should be bubbling vigorously across the entire surface before adding pearls.
- Once boiling, immediately add the drained pearls in a slow, steady stream while stirring constantly with a wooden spoon. This prevents them from clumping together.
- Allow pearls to cook at a gentle boil, stirring frequently, for 15-20 minutes. Regulate heat to maintain a light boil, reducing temperature if it becomes too vigorous.
- After 15 minutes, begin testing tapioca pearls for doneness. Remove a pearl with a spoon and bite into it. When ready, the exterior will be translucent while the interior should be sticky and gummy.
- If the center is still hard or chalky, continue simmering for an additional 5 minutes, testing periodically. Do not overcook, as pearls will become mushy.
Post-Cooking
- Once tapioca pearls are cooked through, immediately drain them into a fine mesh strainer and rinse under cool running water. This stops the cooking process.
- For optimal texture, use pearls within 4 hours of cooking. They will keep 1-2 days refrigerated in an airtight container. Reheat gently in sugar water before using if needed.
Handy Tips and Tricks
Implement these expert tips for guaranteed tapioca success:
- Cook pearls in small batches to prevent overcrowding in the pot, which can lead to uneven cooking.
- Stir constantly during the entire cooking process to keep pearls from sticking together in clumps.
- Maintain a gentle simmer – boiling too aggressively can cause pearls to overexpand and develop a mushy texture.
- Don’t overcook. Tapioca has a fine line between perfectly chewy and unappealingly gummy.
- After cooking, soak pearls for a few hours in sugar water to enhance sweetness and chewiness.
- If pearls turn out too soft, allow them to cook 2-3 minutes longer next batch. For pearls that are too chewy, reduce cook time by a few minutes.
- Lightly dusting pearls with tapioca, potato, or corn starch before cooking can help further prevent sticking.
Frequently Asked Questions
Still have questions about cooking tapioca pearls? Below we answer some of the most common inquiries:
Can I microwave tapioca pearls?
Microwaving is not recommended, as it often leads to uneven cooking and a blown out, mushy texture. Always cook tapioca pearls on the stovetop for the best results.
What is the difference between white and black pearls?
Black tapioca pearls are derived from brown cassava starch, giving them a dark color when cooked. The flavor is similar to white pearls. Use whichever aesthetic you prefer.
What are some creative serving ideas for cooked pearls?
Get creative with tapioca pearls! Use them in bubble teas, smoothies, puddings, candies, ice cream toppings, frozen drinks, soups, and more. Their textures and ability to absorb flavors make them endlessly adaptable.
Should I use a pressure cooker?
Pressure cookers can reduce cooking time to 5-8 minutes. However, the stovetop method still produces excellent results. If using a pressure cooker, carefully follow manufacturer’s instructions.
Conclusion
With the proper ingredients and techniques, cooking flawless white tapioca pearls is easy. By starting with quality pearls, using filtered water, regulating stovetop heat, allowing ample time for them to reach the ideal tender-chewy consistency, and following our tips, you are guaranteed tapioca success every time. Get creative with drinks, desserts, snacks, and more using these fun, flavorful pearls.

Hello! I’m Christine Ha – a food nerd in love with eating, cooking, photography, science, and culture.
Vietnamese food was always on the table when I was a kid, but I didn’t really care for it until my late teens (what a waste!). I was a super picky eater and mostly just wanted fast food. Somewhere down the line I flipped a switch, and now home-cooked food is something I appreciate so much more. ⮕About me